Biomes
Explore the procedurally generated world of Wanderburg. Learn what each biome throws at you, from the desert to the unknown regions beyond.
Introduction
The Biomes section maps the procedurally generated world of Wanderburg. Every run generates a fresh map, but the biomes themselves follow consistent rules: the desert is the first revealed biome, with its own hazards, enemies, and rewards, and further regions unlock as your castle grows stronger. This section explains how biome progression works, what each biome throws at you, how difficulty levels change enemy density and rewards, and how to prepare your castle for the journey. Because maps are procedural, no two runs play the same — but knowing what each biome expects is the difference between a smooth run and a quick death.
Biome Quick Reference
| Biome | Status | Hazards | Rewards |
|---|---|---|---|
| Desert | Revealed | Heat, desert enemies | Villages, early growth |
| Unknown Regions | Teased | Unknown | Higher-tier content |
| Difficulty Levels | Multiple | Denser enemies | Better rewards |
Biome Profiles
Desert
The first revealed biome — heat, hazards, and early growth
Unknown Regions
Teased content beyond the desert
Difficulty Levels
The risk-reward layer on top of every biome
Core Mechanics
Wanderburg generates a new map for every run, and biomes are the regions that structure that map. The desert is the first biome players see — it was revealed in official announcements and the demo, and it sets the tone with heat hazards and desert-themed enemies. As your castle grows, new biomes unlock, each with its own enemy roster and reward table. Difficulty levels layer on top of biomes: higher difficulty increases enemy density and rewards, letting you tune the challenge to your build. The procedural generation means biome order and layout vary between runs, but the biome rules themselves stay consistent.
Advantages
The biome system keeps every run fresh. Procedural generation means you cannot memorize a single map — you have to read the terrain, plan your route, and adapt your castle to what the run offers. The desert biome is a well-designed first challenge: its hazards teach you the game's core lessons without overwhelming new players. Difficulty levels give veterans a way to push themselves, and the reward scaling makes higher difficulty genuinely worth the risk. The teased unknown regions give the Early Access roadmap a clear direction. The biome system keeps every run fresh, and the desert is a well-designed first challenge that teaches the core lessons without overwhelming new players, while difficulty levels give veterans a way to push themselves.
Challenges
Biome knowledge is still incomplete. Only the desert has been fully revealed, and the regions beyond it are teased rather than documented — guides can only speculate about their enemies and rewards until Early Access launches. Procedural generation also means you cannot plan a fixed route, so players who prefer predictable maps may find the randomness frustrating. And because the game is not yet released, biome balance and difficulty tuning may change after launch. Only the desert has been fully revealed, so guides can only speculate about the regions beyond it until Early Access launches, and procedural generation means you cannot plan a fixed route.
Frequently Asked Questions
How do I unlock new biomes?+
What is the best biome to start in?+
How does difficulty change biomes?+
Quick Tips
Prepare for the desert before you enter it. Heat hazards and desert enemies punish unprepared castles, so bring at least one defense module and a weapon with good coverage before pushing into the first biome. Heat hazards and desert enemies punish unprepared castles, so bring at least one defense module before pushing into the first biome.
Read the map before you roll. Procedural maps reward planning — spot the village clusters and fortress positions early, then plan a route that grows your castle before you take on the hard targets. Spot the village clusters and fortress positions early, then plan a route that grows your castle before you take on the hard targets.
Use difficulty as a tuning knob. If a biome feels too easy, raise the difficulty for better rewards. If you are dying to the desert, lower it and focus on growth — the rewards will come when your castle can handle the risk. If you are dying to the desert, lower the difficulty and focus on growth — the rewards will come when your castle can handle the risk.
Featured
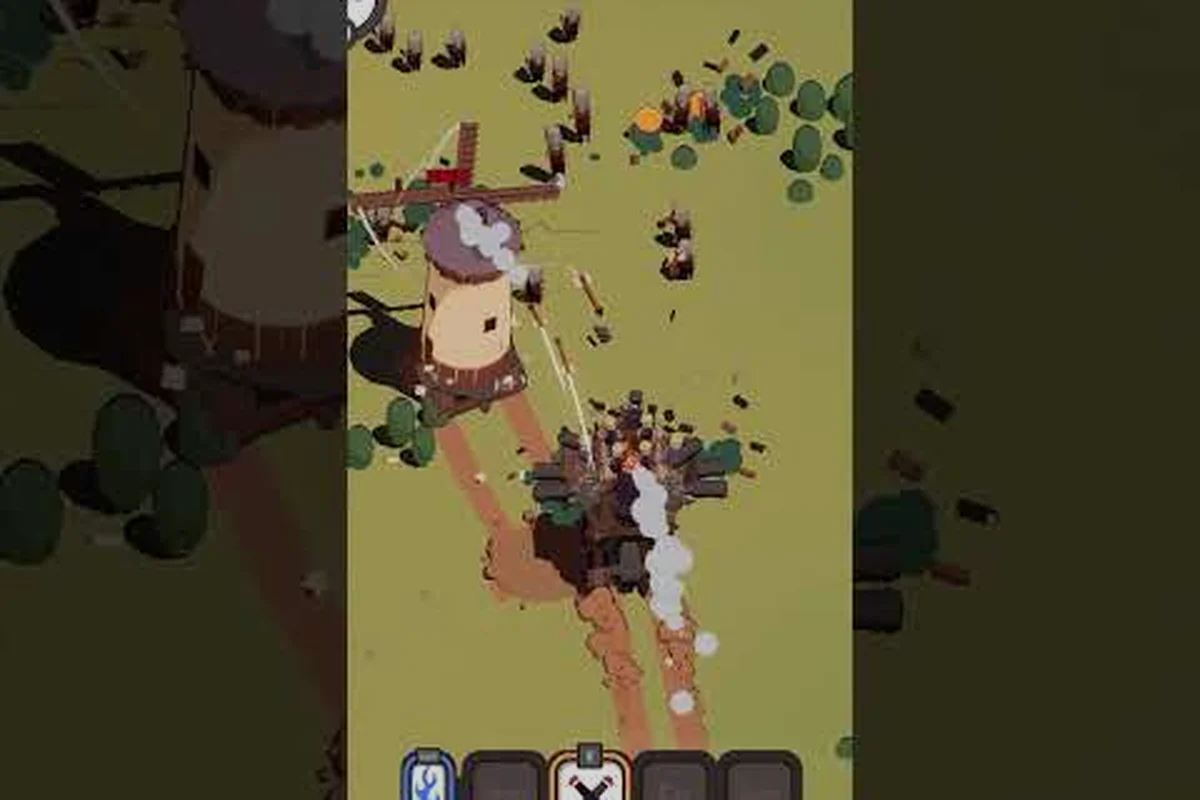
Wanderburg Biome List: Every Region and Desert Biome Preview
Tour the full Wanderburg biome list including the upcoming desert biome, with unlock conditions, terrain hazards, and what each region adds to your runs.
Wanderburg Easy Mode: Settings, Biome Unlocks, and Desert Update
Discover how Wanderburg easy mode reshapes difficulty, what biomes it unlocks fastest, and how the upcoming desert update changes casual playthroughs.
Wanderburg Best Biome for Farming: Loops, Hazards, and Heat
Pin down the Wanderburg best biome for farming with route breakdowns, desert heat hazards, weather effects, and seed tips for max resource runs.
All Articles
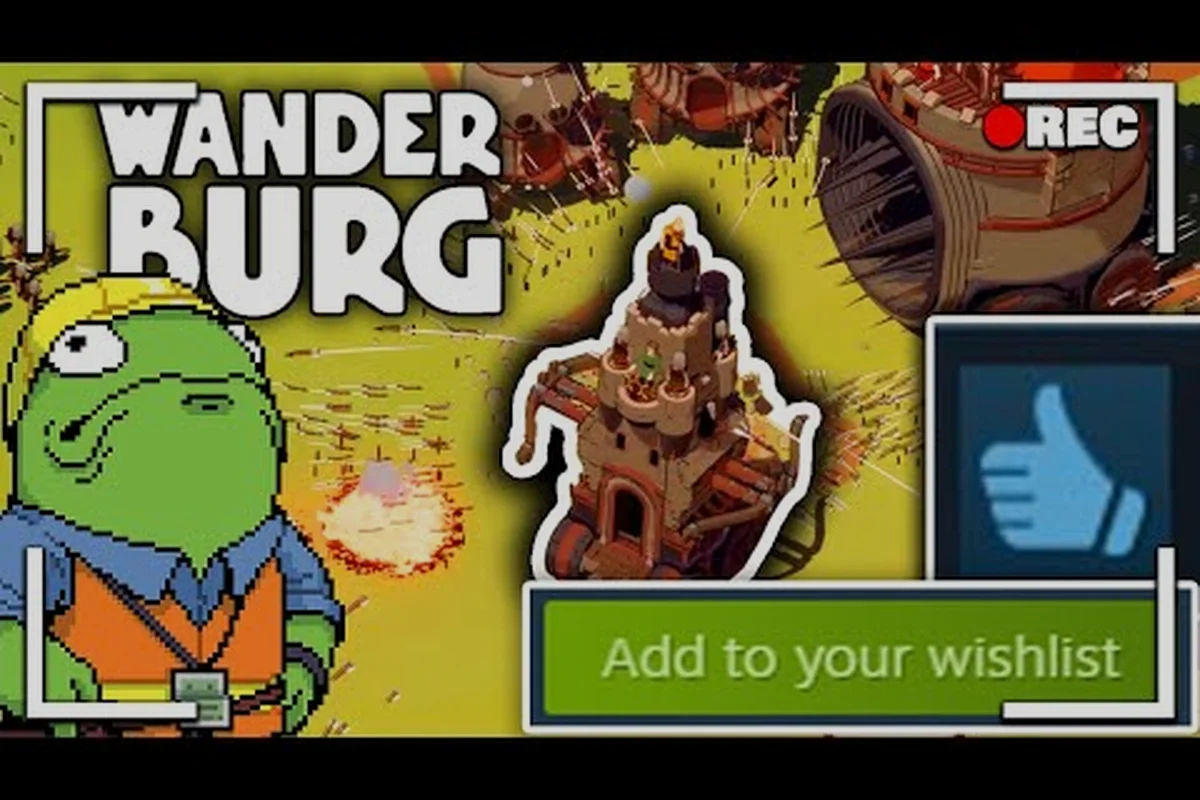
Wanderburg Biome Difficulty: Region Order and Rewards
Compare every Wanderburg biome by difficulty with region order, enemy density, and rewards so you know which regions to tackle first.
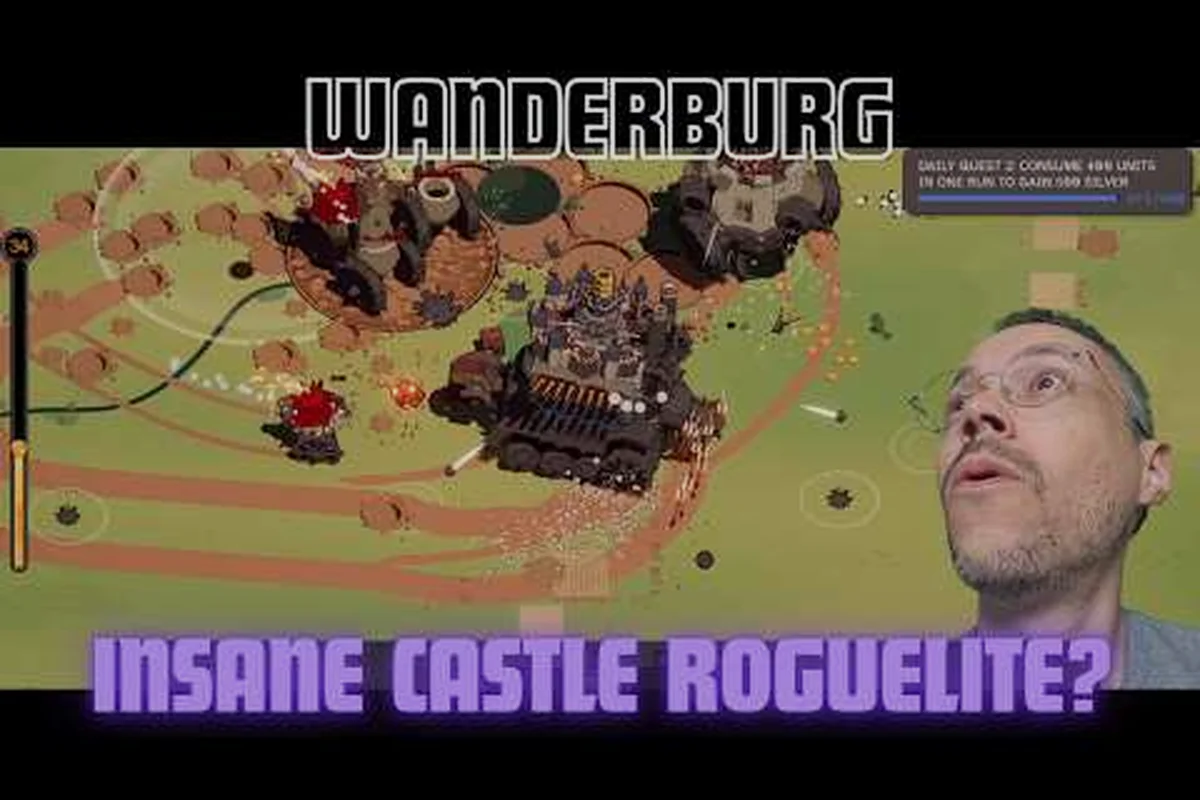
Wanderburg Biome Enemies: Desert Foes and Boss Counters
Catalog every Wanderburg biome enemy with desert mobs, boss lineups, and survival counters to plan your castle build before your first roll.
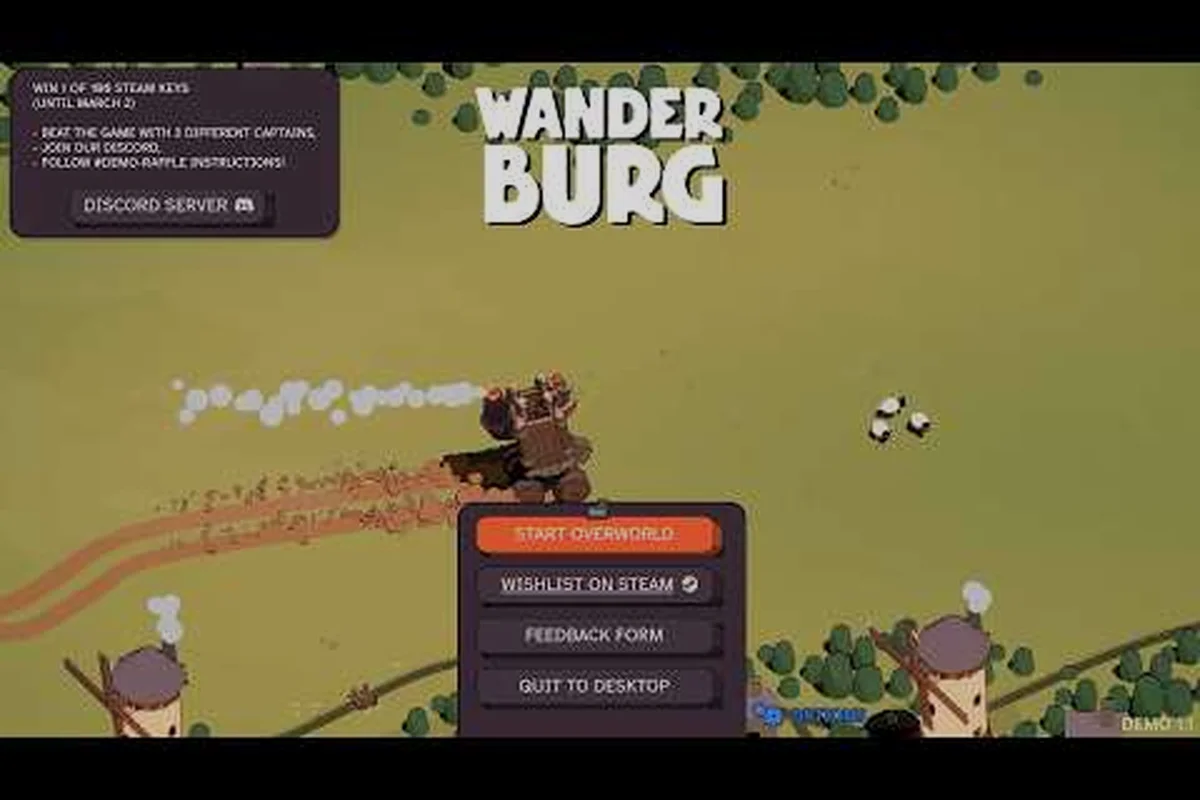
Wanderburg How to Explore Biomes and Map Progression
Master how to explore in Wanderburg with biome-by-biome tips, difficulty guidance, and map progression advice for deeper runs.
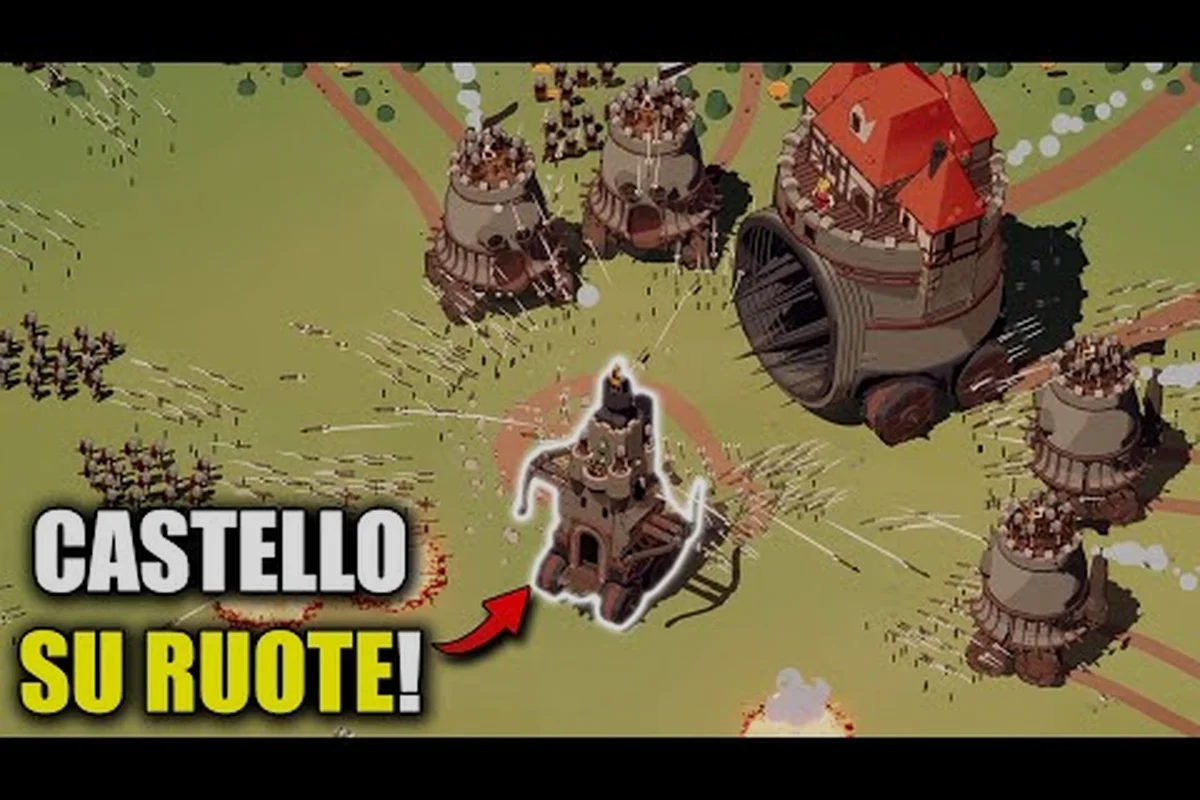
Wanderburg Random Map: Biome Variety and Desert Sneak Peek
Explore how Wanderburg random map generation shapes every run, with a biome checklist, region variety, and an early look at the upcoming desert biome.