In Wanderburg, your castle is your weapon — and the modules you bolt onto its frame decide whether you steamroll a biome or get chewed apart at the village gates. Picking the right wanderburg weapon modules at every stage of a run is the single biggest lever between a clean clear and a fifth-attempt reset, so this guide walks through the picks, the priorities, and the build order that community data keeps confirming.
Understanding Wanderburg's Module System
Wanderburg ships with a modular progression system that expands your moving fortress with new siege modules and structures between runs, and every choice you make feeds into the next. According to the official Wanderburg site, the core loop is built around consuming villages, growing the castle, and stacking your arsenal — so understanding how modules slot into that loop is the foundation for any serious build.
A standard run gives you access to two broad module families: weapon modules that deal damage (catapults, cannons, fire throwers, ballistae) and utility modules that enable or amplify your weapons (ramps, harvesters, armor plating, supply carts). Mixing both correctly is what produces the wanderburg best castle setup, because raw damage without utility stalls out the moment you hit a fortified village, and utility without damage never breaks the gate.
How Modules Are Earned and Placed
Modules drop from crushed villages, biome bosses, and the post-run unlock pool. Once unlocked they enter your pool and can be drafted mid-run when you level your castle. Placement matters: a catapult at the front face hits sooner but takes more counter-fire, while rear-mounted cannons stay safe longer but lose the first salvo. The Wanderburg Steam page describes the system as "modular siege machinery" — which is the cleanest way to think about it, since swapping pieces between attempts is part of the skill curve.
The Two Damage Archetypes: Burst vs Sustained
Most wanderburg weapon modules fall into one of two archetypes. Burst weapons (cannons, mortars, heavy catapults) delete single high-HP targets in one or two shots but reload slowly. Sustained weapons (ballistae, small catapults, fire spouts) chew through groups of buildings and weak defenders over time. Picking one archetype per side of the castle — burst up front, sustained in the back — is the most reliable wanderburg castle build order foundation players report.
Early-Game Castle Build: Foundation Modules
Your first three to four module slots should solve a single problem: breaking the first village's gate without dying on the approach. The game opens with very limited module options, and trying to build a "late-game" loadout in slot 1 is the most common reason new runs collapse. The pragmatic wanderburg early game castle build focuses on cheap, reliable picks that scale into mid-game.
Slot Priority in the First Village
| Priority | Module | Role | Why It Matters Early |
|---|---|---|---|
| 1 | Ram (utility) | Gate breaker | First-village gates have very high HP; ram is the only reliable opener |
| 2 | Small Catapult (weapon) | Splash damage | Clears defenders clustered behind the gate, costs little to draft |
| 3 | Harvester (utility) | Resource gain | Feeds the next two module purchases without starving the run |
| 4 | Ballista (weapon) | Anti-swarm | Defenders spawn in waves; ballista's sustained fire holds the line |
The first three picks above are the consistent community recommendation and the same opening that Failloop's cannon-damage video implicitly uses as a baseline before stacking the late-game cannon scaling. Trying to grab a cannon in slot 1 is a trap — it deals great damage but cannot break a gate on its own and burns resources you need for the harvester.
When to Skip the Ram
If a run offers an exceptionally strong burst weapon in slot 2 (a cannon or a high-damage catapult), some players skip the ram and burn the gate with brute force. The trade-off is real: you save a slot for a second weapon, but you take heavy hull damage and arrive at village 2 with a wounded castle. For the cleanest wanderburg early game castle build, stick with the ram until you have at least one solid burst weapon, then re-evaluate at the biome-1 boss.
Mid-Game Castle Build: Scaling Damage and Defense
By the time you've cleared three to five villages you should have six to eight module slots, and the question stops being "how do I open a gate" and becomes "how do I scale damage while keeping the castle alive." This is where the build order matters most, because the wrong mid-game pick locks you into a role for the rest of the run.
The Mid-Game Power Spike: Second Burst Weapon
| Slot | Recommended Pick | Synergy | Notes |
|---|---|---|---|
| 5 | Cannon (weapon) | Pairs with small catapult for layered damage | First real "delete a building" option |
| 6 | Armor Plates (utility) | Buffs survivability for biome-1 boss | Cheap, always relevant |
| 7 | Fire Spout (weapon) | Sets up late-game fire stacking | Doubles as anti-swarm in tight villages |
| 8 | Second Cannon or Mortar (weapon) | Doubles down on burst archetype | This is the start of the late-game transition |
The Fire Spout is the most underrated mid-game pick because it bridges the early and late game cleanly. The BaronVonGames fire-stacking video shows what happens when a fire build is allowed to mature — but the foundation of that run is always a fire spout drafted around slot 7, not a late-game fire module rushed in at slot 9.
Utility Modules: The Hidden Multiplier
Players who focus only on weapons consistently hit a wall around biome 2 — usually the Salt Flats or the Ashen Approach — because raw firepower scales linearly while enemy HP and armor values scale exponentially after that point. The wall is almost always caused by missing one of three critical wanderburg utility modules that multiply your effective DPS through ammo sustain, mobility, and draft economy rather than raw damage stats.
-
Supply Cart — keeps the cannon fed with ammo during long approaches
-
Reinforced Wheels — increases movement speed so the castle can reposition between salvos
-
Workshop — reduces the cost of future module drafts, compounding over the run
Workshop is the single best utility module in the game by community consensus, and it should be drafted as soon as it's offered. It does not show up on damage charts and that is exactly why new players pass on it — but every run that goes deep has one.
Late-Game Castle Build: Clearing the Map
Late-game Wanderburg is where the wanderburg best castle setup stops being a category question and becomes a math question. Once you have 10+ module slots the goal is no longer "survive" but "clear the entire map before the timer expires," and that is where cannon stacking, fire stacking, and hybrid rampages come in.
Late-Game Archetype Comparison
| Archetype | Core Modules | Clear Speed | Survivability | Difficulty to Build |
|---|---|---|---|---|
| Cannon Stacker | 3-4 Cannons, Mortar, Armor Plates | Very High | Medium | Easy |
| Fire Stacker | 3-4 Fire Spouts, Fuel Module, Ram | High | Low | Medium |
| Hybrid Burst | 2 Cannons, 2 Fire Spouts, Mortar | Very High | High | Hard |
| Sustained DPS | 4+ Ballistae, Harvester x2 | Medium | High | Easy |
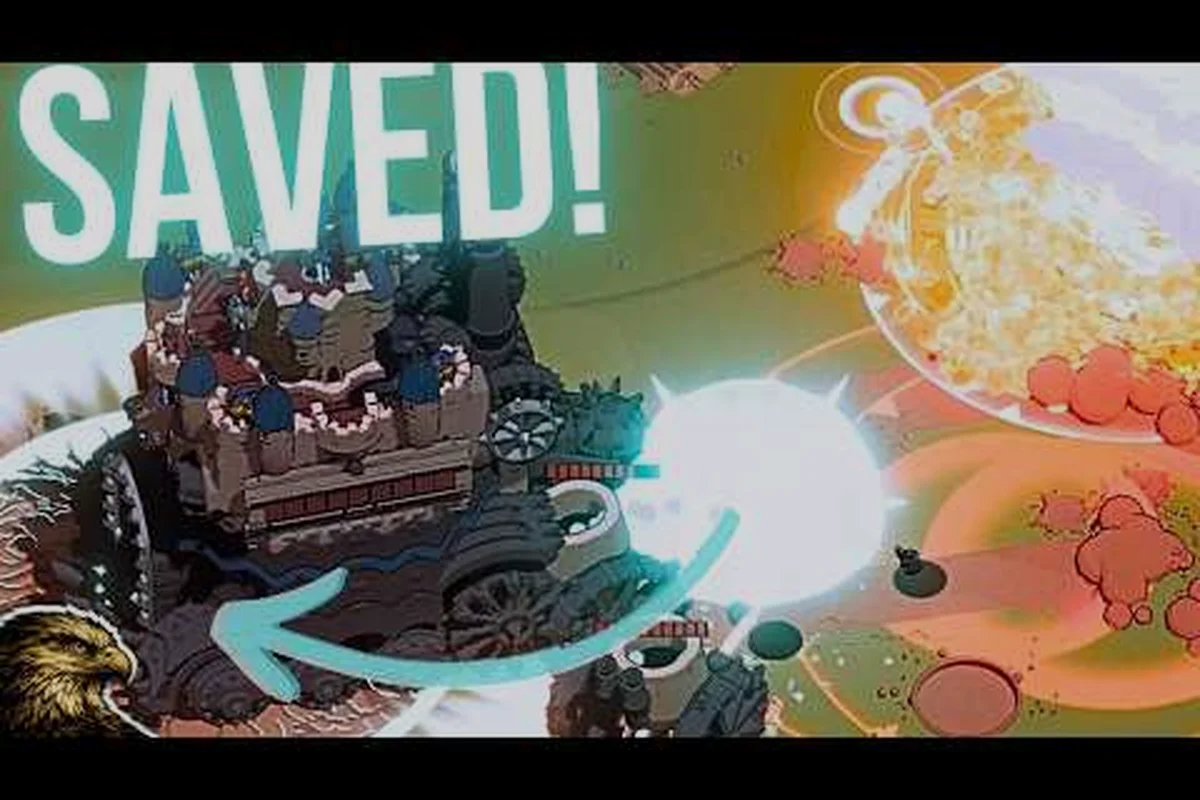
The cannon stacker is the safest late-game build and the one demonstrated in Failloop's 100% cannon damage run, where stacking cannon damage modifiers turns each shot into a map-clearing explosion. The fire stacker is the highest damage ceiling in the game but punishes mis-positioning hard, which is why BaronVonGames's fire-build video is worth studying before committing. Hybrid is the strongest in experienced hands because it solves both the gate and the swarm problem, but it requires disciplined module drafting that only comes after a dozen runs.
Per-Run Build Order: A Reference Path
A reliable wanderburg castle build order for a full clear prioritizes survival-first picks through slot 8, because every module before that threshold either patches a hole in the castle's defenses or directly unlocks a stronger weapon module two slots later. The Ram, Small Catapult, Harvester, and Ballista core covers the early-game economy-versus-DPS tradeoff that decides whether you survive the first boss wave, while slots 5-8 deliberately front-load cannons and armor plates to bridge into the late-game archetype choices.
-
Slots 1-4 — Ram, Small Catapult, Harvester, Ballista (early-game foundation)
-
Slots 5-8 — Cannon, Armor Plates, Fire Spout, Second Burst Weapon (mid-game spike)
-
Slots 9-12 — Third Cannon OR Second Fire Spout, Workshop, Supply Cart, Reinforced Wheels (late-game transition)
-
Slots 13+ — Fill remaining slots with whatever archetype you committed to (cannons, fire, or hybrid)
This is not the only valid order — players chasing a specific meta will deviate — but it is the order with the highest success rate according to community-reported runs, because every slot before slot 9 either keeps the castle alive or unlocks a stronger next pick.
Module Synergies and Stack Rules
Modules in Wanderburg are not just additive — they have stacking rules that turn a "good" build into a "broken" build. The two stacking rules that matter most are damage-type stacking and trigger-based synergies, and both are what separate an average castle from a CaptainCigar-style unstoppable war machine.
Damage-Type Stacking
Every weapon module has an internal damage category: kinetic (catapults, ballistae, cannons), fire (spouts, incendiary bolts), and siege (ram, mortar). Modules of the same type gain a small stacking bonus per duplicate. That bonus is small — usually under 10% — but it applies to every shot, so four cannons is meaningfully stronger than one cannon plus three unrelated weapons. This is why the "fill slots with your archetype" advice in the late-game section works: it is not just a style choice, it is a math choice.
Trigger Synergies
Some wanderburg utility modules activate when specific conditions are met, and lining those up with the right weapons is where the broken builds come from. Most of these triggers fall into three families — duration extensions, reload accelerators, and cost reducers — each stacking multiplicatively with the base weapon stat, so a 30% reload boost on a Cannon effectively turns its 4-round burst into roughly a 5.2-round volley against boss-tier HP pools. The most common trigger synergies reported by players, broken down by which stat each module actually modifies, are:
-
Fire Spout + Fuel Module — Fuel Module increases burn duration, turning fire spouts from anti-swarm into map clearers
-
Cannon + Munitions Cache — Cache increases cannon reload speed, multiplying sustained burst DPS
-
Ram + Reinforced Bow — Reinforced Bow increases ram damage, letting the ram one-shot biome-1 boss gates
-
Harvester + Workshop — Workshop reduces harvester upgrade cost, compounding the resource engine
If you want to dig deeper into the math behind the damage scaling on these triggers, the weapon aim and damage guide covers the underlying numbers in detail, including which weapons get the most benefit from stacking.
Adapting the Build to Biome and Difficulty
Wanderburg ships with multiple biomes and difficulty levels, and the "correct" module picks shift slightly between them. A build that crushes the greenfield biome will struggle in the mountain biome because of the long sightlines and the high-HP siege towers, so a true wanderburg best castle setup is biome-aware.
Biome-Specific Adjustments
| Biome | Recommended Emphasis | Modules to Prioritize |
|---|---|---|
| Greenfield (1) | Early-game foundation | Ram, Small Catapult, Harvester |
| Forest (2) | Sustained damage for tight lanes | Ballista, Fire Spout, Harvester |
| Mountain (3) | Burst damage for long sightlines | Cannons, Mortar, Armor Plates |
| Wasteland (4+) | Full late-game build | Fire Stack, Cannon Stack, or Hybrid |
Mountain biome is the first real test of whether your build is a true late-game build or a mid-game build carried by the early picks. Long sightlines mean defenders fire on you for longer, so armor plates become mandatory and burst damage becomes the only way to end fights before the castle takes fatal hull damage. If you find yourself getting worn down before the village gate opens, that is the signal to commit to a cannon or mortar in your next draft rather than another utility module.
Difficulty Scaling
Higher difficulty does not just multiply enemy HP — it also reduces the drop rate of high-tier modules. This means the wanderburg late game castle build at maximum difficulty looks more like a perfected mid-game build than a fully slotted late-game build, because you will rarely see all 12 slots filled. On higher difficulties, prioritize the Workshop utility module even more aggressively: it is the only module that lets you draft two strong modules for the price of one, and on maximum difficulty that single utility module often decides the run.
Common Build Mistakes to Avoid
The line between a clean clear and a wipe is usually one bad pick in the first eight slots, and the same mistakes show up in community-reported failed runs again and again. Most of these errors trace back to ordering: players treat the draft as a wishlist of wanderburg weapon modules rather than a dependency chain where harvester → armor → one archetype damage source. These are the highest-frequency errors when drafting wanderburg weapon modules:
-
Drafting two rams — One ram is essential, two rams is a wasted slot. Use that second pick for a weapon instead.
-
Skipping the harvester — Resource starvation is the silent killer of mid-game runs. The harvester is not exciting, but it pays for every weapon module after it.
-
Front-loading cannons — A cannon in slot 1 is almost always a mistake. Cannons need infrastructure (ammo, defense) before they shine, and the early game cannot provide that.
-
Ignoring armor plates — Players chasing the highest damage build forget that a dead castle deals zero damage. Armor plates are the cheapest way to extend the run by two or three villages.
-
Not committing to an archetype — A build with one cannon, one fire spout, one ballista, and one catapult is weaker than a build with four cannons. Pick an archetype by slot 8 and commit.
If you want a more comprehensive look at how these mistakes fit into a complete loadout decision, the strongest build tier list ranks the most common endgame configurations and the modules they depend on, which makes it a useful cross-check after you finish a run.
Final Build Checklist
Before you commit to a slot, run through this quick checklist. It is the same mental model experienced players use to keep their build on track without pausing the action: each prompt forces you to weigh a specific trade-off between your archetype's core modules — cannon, harvester, ram, armor plates — and the next biome's defender pressure, so a mis-pick in slot 3 doesn't cascade into a forced restart in slot 7.
-
Am I still missing a gate-breaker? — If yes, no weapon pick matters until you have a ram.
-
Do I have a reliable resource engine? — If no, the harvester or workshop comes before damage.
-
What archetype am I building? — If you cannot answer, you are about to make a random pick.
-
Can my current build survive the next biome's defenders? — If no, armor plates or a defensive utility module now saves a restart later.
-
Am I within two slots of my archetype's core? — If yes, draft toward the core; if no, a pivot is safer than forcing it.
This checklist is not theory — it is the condensed version of the complete castle building workflow, which walks through the same decisions step by step for players who want the full context before locking in their first draft.
The bottom line is that Wanderburg rewards players who think in terms of a per-run build order rather than a single best-in-slot module. The best cannon in the world loses to a well-timed harvester in slot 3, and the best harvester in the world loses to a castle that never gets past the first gate. Pick your archetype, follow the slot order, and let the late-game numbers take care of themselves.
Frequently Asked Questions
What is the most important wanderburg weapon module to draft first?
The ram is the most important first module in any run because it is the only reliable way to break a fortified village gate on the early biomes. Without it, even the strongest cannon build stalls out at the first defended village and the run collapses before slot 5.
Should I focus on wanderburg weapon modules or utility modules early?
Draft one utility module first (the ram), then move to weapons, then add a second utility (usually the harvester) by slot 3 or 4. Pure weapon rushes look fast in the first village but stall in the second because of resource starvation and the lack of gate-breaking options.
When should I commit to a late-game build archetype?
Commit to an archetype by slot 8 at the latest. Drafting before slot 8 keeps your options open, but after slot 8 the cost of switching archetypes becomes too high. Pick between cannon stacker, fire stacker, or hybrid before slot 9 and let the rest of the slots fill out that build.
What is the best late-game wanderburg castle setup for maximum difficulty?
On maximum difficulty, the cannon stacker with workshop and armor plates is the most reliable late-game build because cannons deal burst damage that scales well against high-HP defenders, while the workshop utility module offsets the lower drop rate of high-tier weapons. Fire stacker has a higher damage ceiling but punishes mis-positioning too harshly on maximum difficulty for most players.
Do utility modules stack with weapon modules in Wanderburg?
Yes, but they stack in different ways. Weapon modules of the same damage type gain a small per-duplicate bonus, while utility modules provide trigger-based bonuses that activate when specific conditions are met (for example, the fuel module extending fire spout burn duration). The strongest builds combine both stacking rules rather than relying on only one.