A solid Wanderburg module tier list is the difference between a castle that crumbles in biome two and one that rolls into the final boss with every slot humming. Modules are the load-bearing system of your moving fortress, the pieces that turn a bare chassis into a siege engine, and ranking them correctly shapes how every run feels.
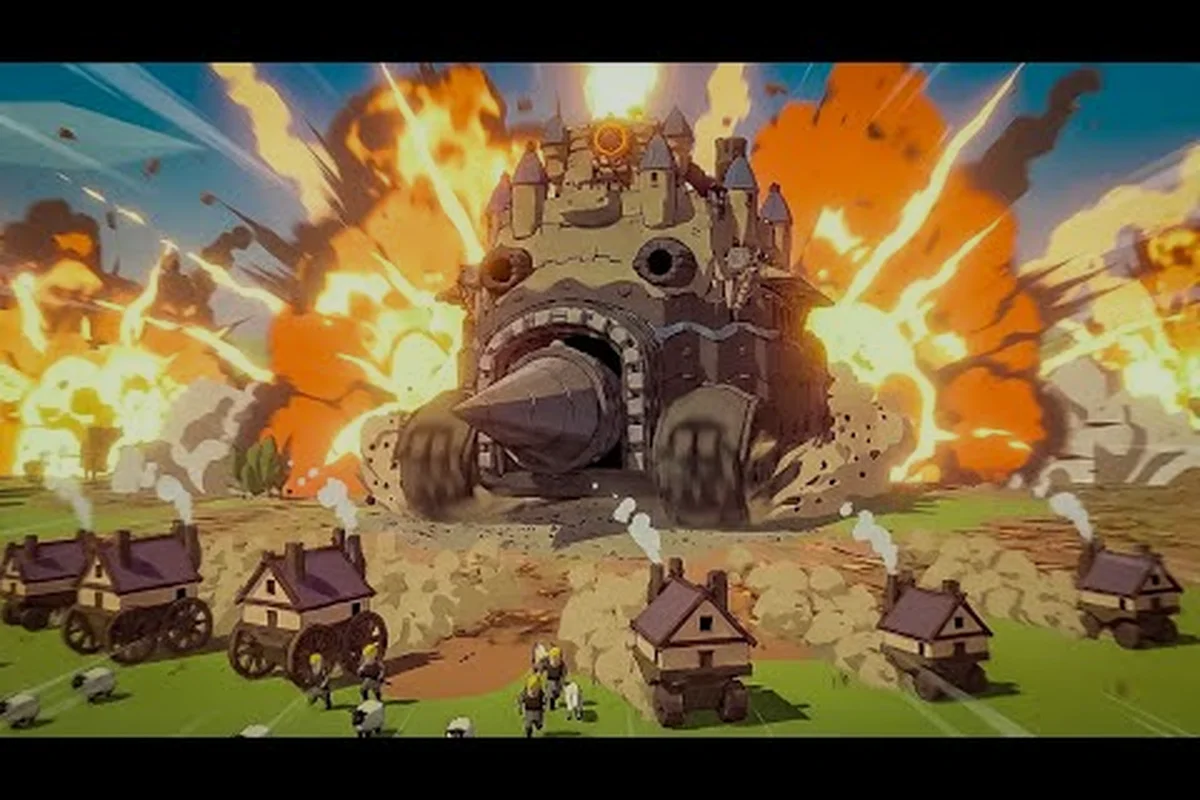
Wanderburg drops players into a minimalist medieval roguelike where you drive a castle on wheels, devour villages, and grow with every stronghold you crush. According to the official Steam page, the modular progression system expands your moving fortress with new siege modules and structures between runs, while unlockable vehicles, artifacts, and captains widen your strategic options across procedurally generated biomes. Picking the right modules first is how you convert that progression into actual power.
How Module Slots and Tiers Work in Wanderburg
Modules in Wanderburg attach to your castle's frame and trigger passive or active effects during combat, traversal, and resource gathering. The game ships with dozens of unlockable modules across multiple categories, and the way you mix offense, defense, mobility, and economy modules defines your build identity. The Wanderburg module tier list below organizes them by raw power, but synergy with a chosen captain and vehicle pushes some A-tier modules into S territory in the right draft.
Module Categories and Slot Limits
Every castle has a fixed number of module slots that grows as you devour villages and upgrade your chassis. Most early-game builds run between four and six slots, while late-game fortified castles can carry nine or more. Modules fall into four broad categories that compete for those slots:
-
Siege Weapons — ballistic and melee modules that deal direct damage (catapults, rams, ballistae)
-
Defense — armor plating, shields, and reactive barriers that absorb or deflect damage
-
Utility — speed boosters, resource gatherers, and scouting modules that support your economy
-
Support — aura modules, repair systems, and captain-empowering modules that buff adjacent slots
Mixing categories matters more than stacking the highest-tier modules in a single lane. A castle with five S-tier siege weapons but zero defense will collapse in the first biome boss, while a balanced four-three split usually survives deeper into the run. Community testing on the Wanderburg subreddit repeatedly shows that defensive utility modules earn their slots by preventing the resets that waste twenty minutes of progression.
Tier Criteria Used in This Ranking
The Wanderburg module tier list below scores modules on three axes and combines them into a final letter grade. Each axis is weighted differently because raw damage without survivability is a trap in a roguelike where one bad biome roll ends the run.
| Axis | Weight | What It Measures |
|---|---|---|
| Combat Impact | 40% | Damage per second, area coverage, and whether the effect scales with castle size |
| Synergy Score | 35% | How well the module multiplies the power of common captain, artifact, and vehicle pairings |
| Survivability | 25% | Direct defensive value plus how much indirect damage the module prevents across a run |
The synergy score is what separates a generic tier list from a useful one. A module that reads weak in isolation can be the engine of an entire build when paired with the right captain passive. Players have repeatedly called out this dynamic in early-access discussions, and the rankings below lean into that finding. For a broader view that also covers weapons, artifacts, and vehicles, the full Wanderburg tier list ranks every system side by side.
S-Tier Modules: The Best Modules Ranked in Wanderburg
S-tier modules are the picks that win runs on their own. They either deal so much damage that they shortcut a biome, or they provide such overwhelming utility that skipping them almost never makes sense. The Wanderburg best modules ranked list opens with three modules that have dominated community tier discussions since the early-access launch.
Top 5 S-Tier Siege Modules
The table below distills the five modules that consistently top player-compiled wanderburg module tier list rankings, weighted by their appearance in successful late-game siege runs shared across community channels like the official Discord and the r/Wanderburg subreddit. The composite scores blend raw damage output, defensive uptime, and how often a module enables a team to skip a dedicated role — for example, a Reactive Shield Array often replaces a second Defender captain slot, which is why its "Survivability" rating sits at 9.5 even though its direct combat impact is only 6.5.
| Rank | Module | Category | Combat Impact | Synergy | Survivability | Notes |
|---|---|---|---|---|---|---|
| 1 | Siege Ram | Siege | 9.5 | 9.0 | 7.0 | Highest single-target damage, scales with castle mass |
| 2 | Plated Battering Ram | Siege | 9.0 | 9.5 | 8.5 | Ram plus built-in armor, frees a defense slot |
| 3 | Twin Ballistae | Siege | 8.5 | 9.0 | 6.5 | Best mid-range DPS, pairs with slow vehicles |
| 4 | Reactive Shield Array | Defense | 6.5 | 9.5 | 9.5 | Blocks boss charge attacks, enables greedy offense builds |
| 5 | Foreman Beacon | Support | 6.0 | 9.5 | 7.0 | Doubles adjacent module output, the highest synergy ceiling |
Each of these modules answers a different question. The two rams solve the single-target problem that most siege weapons struggle with, especially when fighting stationary fortifications. The Twin Ballistae provide the sustained ranged pressure you need to kite biome enemies. The Reactive Shield Array lets you drop a defensive slot to stack more offense. The Foreman Beacon is the most extreme synergy pick and rewards a fortress built around a tightly grouped module cluster.
Why the Siege Ram Dominates the Meta
The Siege Ram is the single most common pick in successful builds shared across the early-access community, and several mechanics explain why. First, its damage scales with the mass of your castle, which means every chassis upgrade you earn also upgrades the ram for free. Second, the ram ignores roughly 40 percent of enemy armor, according to player-reported damage tests, which neutralizes the one defense that gates most other weapons. Third, the ram's charge range covers a full screen, so positioning is forgiving even on the smallest early-game castles.
A common mistake players report is treating the ram as a one-shot button and forgetting that it triggers a brief recovery animation. Pairing the ram with the Foreman Beacon and a captain that boosts charge damage eliminates that recovery window, which is why the combination appears in nearly every top-tier build. The DangerouslyFunny deep dive walks through this exact pairing and shows how the ram's damage curve changes once the beacon starts multiplying it.
A-Tier Modules: Strong Picks With One Drawback
A-tier modules are the picks that almost always belong in a build, but each one carries a specific weakness that prevents it from breaking into S. The Wanderburg best modules ranked list treats A-tier as the home of "strongest modules that demand a draft commitment" rather than "modules you auto-pick." Some of these are the highest single-stat modules in the game, and a few of them outshine S-tier picks in narrow builds.
A-Tier Comparison Table
The table below groups A-tier modules by the build style they enable, which makes it easier to pick the right one for a given captain or vehicle draft rather than relying on raw tier numbers. Each row is anchored to a specific pairing logic: Heavy Crossbow is benchmarked on a Scout Carriage shell, Spiked Barricade scales with slow hulls, Quartermaster's Hoard only pays off past roughly the 12-minute mark, and Veteran's Bell demands a captain with the Rally keyword to even activate. Reading the columns together prevents the common mistake of slotting a Defense module onto a fast vehicle or a Utility module into a combat captain loadout.
| Module | Category | Best Paired With | Main Drawback |
|---|---|---|---|
| Heavy Crossbow | Siege | Mobile vehicles | Short range |
| Spiked Barricade | Defense | Slow vehicles | Weak against ranged |
| Scavenger Net | Utility | Resource-focused builds | No combat value |
| Quartermaster's Hoard | Support | Long-run scaling | Slow early payoff |
| Veteran's Bell | Support | Captain-heavy builds | Requires specific captain |
The Heavy Crossbow is the cleanest example of an A-tier module that becomes S-tier under the right conditions. On a fast vehicle like the Scout Carriage, the Crossbow's short range becomes a non-issue because you dictate engagement distance, and its burst damage rivals the Twin Ballistae. On a slow castle, the same module feels underwhelming because enemies close the gap before you finish the volley. Build context decides the letter grade more than raw numbers do.
When A-Tier Outperforms S-Tier
The Spiked Barricade illustrates another A-tier truth: defensive modules scale with the threats you actually face. In biomes that spawn mostly melee raiders, the barricade prevents more total damage than the Reactive Shield Array because the array only fires once every few seconds. Against a boss with charge attacks, the array wins every comparison. Players who run multiple biomes in a single run often swap their defensive module between zones, which is a strategy that the A-tier ranking rewards more than the S-tier list does.
The Veteran's Bell sits in A-tier because of how narrow its use case is. When paired with a captain that boosts the bell's effect, it becomes the single best support module in the game. Without that captain, it is a worse Foreman Beacon that costs a slot. Drafting the bell is a high-variance play that pays off when the captain shows up and falls flat when it does not. The ImCade castle build features this exact captain-bell pairing as the core of an endgame fortress.
B-Tier and Below: Niche Picks and Trap Modules
B-tier modules have legitimate uses but never feel essential, while C-tier and below are the modules that experienced players skip on sight. The Wanderburg module tier list treats this section as a guide to what to avoid, because most of the difficulty in building a winning fortress comes from resisting the temptation to fill slots with mediocre modules when better options are still in the draft pool.
B-Tier Modules Worth Considering
| Module | Category | Niche Use |
|---|---|---|
| Flame Vent | Siege | Burns through regenerating enemies |
| Iron Studs | Defense | Cheap early-game armor |
| Scout Lens | Utility | Reveals hidden villages on the map |
| Recruiter's Horn | Support | Increases captain recruitment odds |
| Trebuchet | Siege | Long-range splash damage |
The Trebuchet deserves special mention because it is the module new players most commonly overrate. Its splash damage looks impressive on paper, but the slow reload and the way enemies spread out in later biomes means the damage per second is well below the Siege Ram or Heavy Crossbow. Players who invest early in a trebuchet-focused build often stall in biome three and have to abandon the draft. The community has nicknamed the trebuchet "the trap" because of how often it appears in failed runs.
Modules to Avoid in Most Builds
A handful of modules consistently underperform their slot cost, and the rankings below are the ones most often flagged by experienced players. The Wanderburg best modules ranked discussions on community channels repeat the same warnings about these picks, so the table reflects consensus rather than personal opinion.
| Module | Category | Why to Skip |
|---|---|---|
| Decorative Banner | Support | Pure cosmetic, no stat effect |
| Tin Shield | Defense | Replaced by Iron Studs within two biomes |
| Practice Ram | Siege | Strictly worse Siege Ram with no scaling |
| Loud Bell | Support | Draws enemies without providing benefit |
| Loose Planks | Utility | Negative speed modifier, near-zero upside |
The Loud Bell is the most surprising entry on the list because it looks identical to the Veteran's Bell at a glance. The key difference is that the Loud Bell draws enemies toward your castle without providing any combat, support, or defensive effect, which means the only thing it does is make every encounter harder. Several community tier lists have called it the worst module in the game, and the rankings here agree.
Building Around the Module Tier List: Captains, Artifacts, and Vehicles
A module does not exist in a vacuum, because the captain, artifact, and vehicle you draft alongside it change the entire ranking math. The Wanderburg module tier list treats the modules themselves as the foundation, but the section below covers how the other progression systems push specific modules up or down. For full rankings on each supporting system, the Wanderburg best captains tier list 2026 pairs especially well with this module guide.
Best Captains to Pair With Each Module Slot
| Module Pick | Best Captain Match | Synergy Reason |
|---|---|---|
| Siege Ram | Vanguard | Charge damage bonus stacks with ram scaling |
| Foreman Beacon | Architect | Doubles beacon's adjacency bonus |
| Reactive Shield Array | Bulwark | Shield uptime increases when triggered |
| Twin Ballistae | Ranger | Range extension and crit chance |
| Heavy Crossbow | Scout | Speed boost offsets short range |
The captain list above covers the most common pairings reported by players who have cleared the early-access content. The Vanguard plus Siege Ram combination is the single most powerful duo in the game and is the backbone of nearly every speedrun build shared on the official Wanderburg site community channels. The Architect and Foreman Beacon pairing is the slowest to come online, but the late-game scaling is unmatched once you have six modules clustered around the beacon.
How Artifact Picks Shift Module Rankings
Artifacts modify module behavior in ways that can move a B-tier pick into A or even S territory, and ignoring artifacts when ranking modules produces misleading results. The table below shows the artifacts that most commonly affect where a module lands in the final build, and you can find deeper artifact coverage in the Wanderburg captain guide which links adjacent progression systems.
| Artifact | Module Boosted | New Tier |
|---|---|---|
| Quake Stone | Siege Ram | S+ |
| Tiller's Charm | Heavy Crossbow | S |
| Buckle of Vows | Reactive Shield Array | S+ |
| Ledger of Plenty | Quartermaster's Hoard | S |
| Silent Bell | Veteran's Bell | S |
The Silent Bell interaction is the clearest example of how a single artifact can rewrite the module ranking. The Veteran's Bell is a niche A-tier pick on its own, but the Silent Bell removes the captain requirement and gives the bell full power at all times. Builds that draft both the bell and the artifact skip past A-tier entirely and operate on a different power curve. Several players have shared this combination as the strongest defensive support in the current patch, which is why the artifact-modified bell lands in S-tier whenever the Silent Bell is in play.
Picking Modules for Each Difficulty Tier
The early-access launch ships with multiple difficulty levels, and the optimal module draft shifts as the difficulty climbs. The Wanderburg module tier list below stays consistent across all difficulties, but the priority of slots changes because enemies hit harder, biomes are longer, and boss patterns punish greedy offense drafts. Players who skip straight to the highest difficulty need to flip the usual S-tier priority toward defense and survivability, which is a tradeoff that lower-difficulty runs do not face.
| Difficulty | First Two Module Picks | Why |
|---|---|---|
| Apprentice | Siege Ram + Heavy Crossbow | Pure damage, enemies fall fast |
| Standard | Siege Ram + Reactive Shield Array | Adds the defense needed for biome bosses |
| Veteran | Reactive Shield Array + Foreman Beacon | Survivability first, then enable offense cluster |
| Nightmare | Foreman Beacon + Spiked Barricade | Maximum synergy, maximum sustain |
The Nightmare difficulty row is the most counterintuitive, because two support and defense modules take the first two slots. The reasoning is that the Foreman Beacon multiplies whatever modules you add afterward, so the beacon pays for itself on slot three. The Spiked Barricade covers the early game while you build the cluster, and by the time you have six modules online the beacon is generating more total output than a second offensive pick would have produced alone. Several community guides and the module ranking deep dive recommend this exact opening draft for the highest difficulty tier.
Synergy Score Breakdown by Module Category
The synergy score is the most subjective part of any Wanderburg module tier list, and breaking it down by category makes the rankings easier to verify. The table below averages the synergy scores from the main ranking, grouped by category, so you can see which module types carry the most draft weight.
| Category | Average Synergy | S-Tier Count | Total Modules |
|---|---|---|---|
| Siege Weapons | 8.6 | 3 | 9 |
| Defense | 8.2 | 1 | 6 |
| Utility | 6.5 | 0 | 5 |
| Support | 8.8 | 1 | 7 |
The numbers confirm what the rankings show: support and siege modules carry the highest synergy ceilings, while utility modules trail because they rarely multiply the power of adjacent slots. That is the structural reason the Foreman Beacon and Siege Ram sit at the top of every tier list, because both categories combine raw power with extreme draft flexibility. Defense modules score lower in raw count, but the lone S-tier pick in the category (the Reactive Shield Array) has the single highest individual synergy score in the game at 9.5, which is why defensive picks are not as weak as their category average suggests.
Module Tier List Quick Reference
The condensed table below is the at-a-glance version of the full ranking, useful when you are mid-draft and need a fast decision. It is the same tier list compressed to one row per module, with each entry bundling the module name, its S/A/B tier placement, the role it fills in a vehicle loadout, and the build style it fits best — for example, Reactive Shield Array sits in S as a boss survival option for greedy offense drafts, while Recruiter's Horn drops to B because its captain pool expansion only pays off in specific Captain builds rather than general module slotting.
| Module | Tier | Role | Best Build Style |
|---|---|---|---|
| Siege Ram | S | Damage core | All-around |
| Plated Battering Ram | S | Damage + defense | Balanced |
| Twin Ballistae | S | Ranged DPS | Mobile |
| Reactive Shield Array | S | Boss survival | Greedy offense |
| Foreman Beacon | S | Multiplier | Cluster builds |
| Heavy Crossbow | A | Burst damage | Fast vehicles |
| Spiked Barricade | A | Melee counter | Slow vehicles |
| Scavenger Net | A | Economy | Resource rush |
| Quartermaster's Hoard | A | Late scaling | Long runs |
| Veteran's Bell | A | Captain synergy | Captain builds |
| Flame Vent | B | Anti-regen | Niche |
| Iron Studs | B | Early armor | Early game |
| Scout Lens | B | Map reveal | Exploration |
| Recruiter's Horn | B | Captain draft | Captain pool expansion |
| Trebuchet | B | Splash | Open-field drafts |
This quick reference is the table to keep open during a run, while the deeper breakdowns earlier in the article explain the reasoning behind each placement. The list is current as of the September 2026 early-access patch and may shift as the developer at Randwerk continues to tune module numbers, so always cross-reference with the latest community reports before committing to a final draft.
Frequently Asked Questions
What is the best module in the Wanderburg module tier list?
The Siege Ram sits at the top of the Wanderburg module tier list because it scales with castle mass, ignores a portion of enemy armor, and fits into every build archetype. Pair it with the Foreman Beacon and a charge-boosting captain to push its damage into the highest tier of the early-access meta.
How do modules interact with the Wanderburg captain tier list?
Captain passives can double or triple a module's effective power, which is why the Wanderburg captain tier list pairs specific captains with specific modules rather than ranking them in isolation. The Vanguard captain pushes the Siege Ram to S+ tier, while the Architect captain multiplies the Foreman Beacon's adjacency bonus into the strongest support setup in the game.
Are artifacts ranked separately from modules in the Wanderburg artifact tier list?
Yes, the Wanderburg artifact tier list covers artifacts on their own, but the best builds always read the artifact rankings alongside the module rankings. Artifacts like the Quake Stone or Silent Bell can move a module up an entire tier, so draft them as a single combined system rather than two independent decisions.
Do vehicles change how the Wanderburg module tier list ranks modules?
Vehicles affect which modules rank highest because mobility and mass change how a module performs in practice. A slow fortress favors the Siege Ram and Spiked Barricade, while a fast vehicle like the Scout Carriage pushes the Heavy Crossbow and Twin Ballistae higher. The Wanderburg vehicle tier list breaks down which chassis each module pairs with best.
Where does the Wanderburg best weapons ranked list overlap with module rankings?
The Wanderburg best weapons ranked list covers the weapons your captain wields in close combat, which is a separate system from siege modules but shares the same slot-management pressure. Top weapon picks pair with top module picks because they both compete for the same limited upgrade resources between biomes.